EasyData Time Series Tool
Install the EasyData Excel Add-In
The EasyData Excel Add-In allows you to download EasyData data into your Excel spreadsheets and update the data at any time in the future to include the latest data points. This makes creating routine reports much faster and easier.
1. System Requirements
To use the EasyData Excel Add-In, you will need to have Microsoft Internet Explorer 11 and Microsoft Excel installed on your computer:
- Internet Explorer 11 (Important: The EasyData Add-In only works with Internet Explorer 11*)
- Microsoft Excel 2013 or greater
* This limitation is due to Excel using only IE11 as its internal browser.
2. Add EasyData as a Trusted Site to Internet Explorer
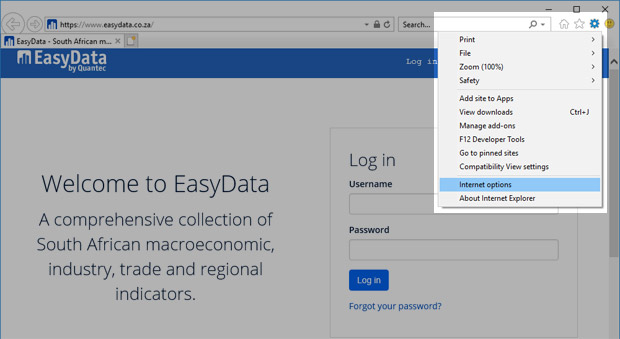
1. Open Internet Explorer 11.

2. Click on Tools.
3. Click Internet Options.
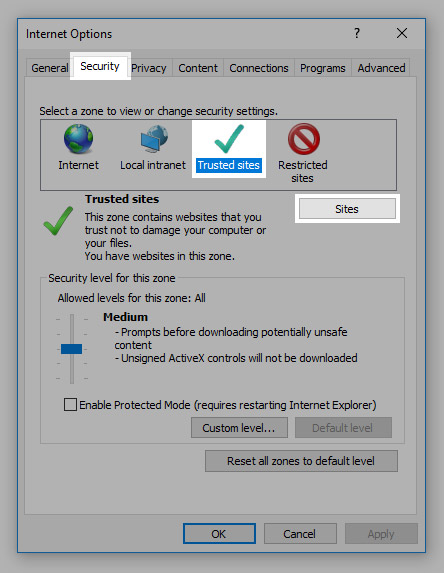
4. Click the Security tab.
5. Click on Trusted sites.
6. Click the Sites button.
7. Type in https://www.easydata.co.za as a trusted site and click the Add button.
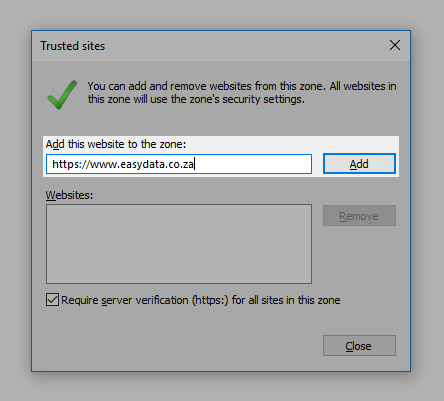
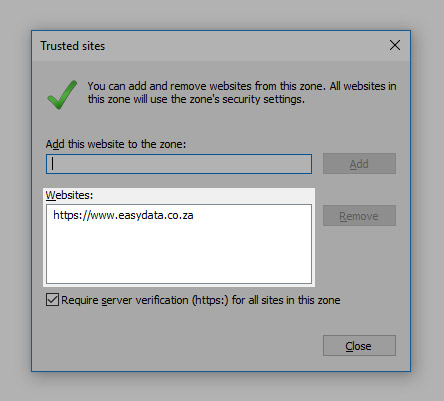
8. Click the Close button.
9. Click the Apply button.
10. Click the OK button.
11. Close Internet Explorer.
3. Enable Data Connections in Excel
1. Open Excel.
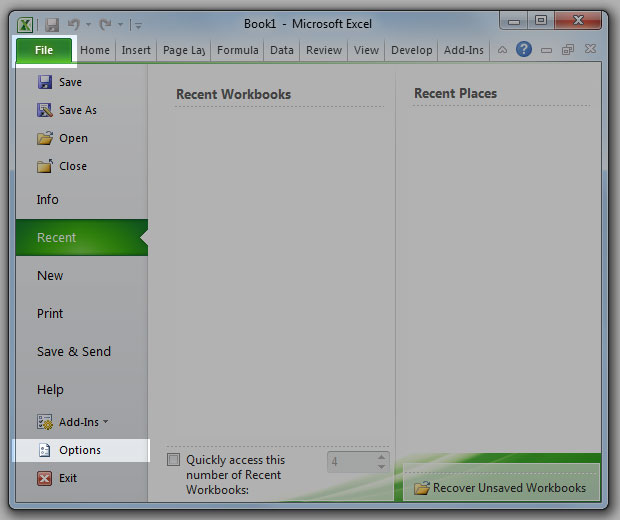
2. Click the File tab.
3. Click on Options.
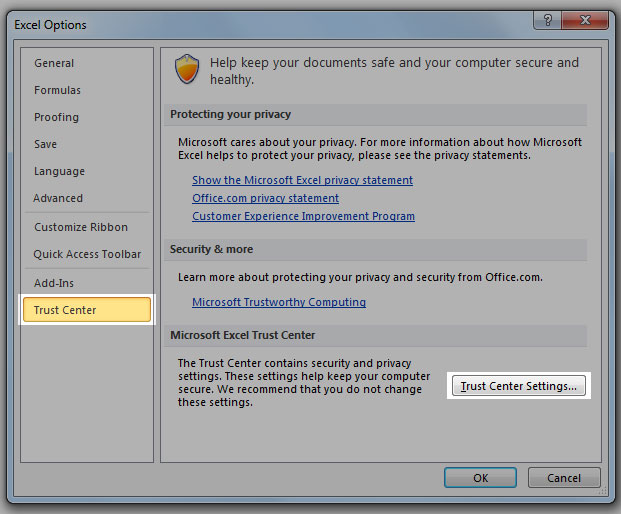
4. Click on Trust Center.
5. Click on Trust Center Settings....
6. Click on External Content.
7. Select Enable all Data Connections.
8. Click the OK button and close the Options window.

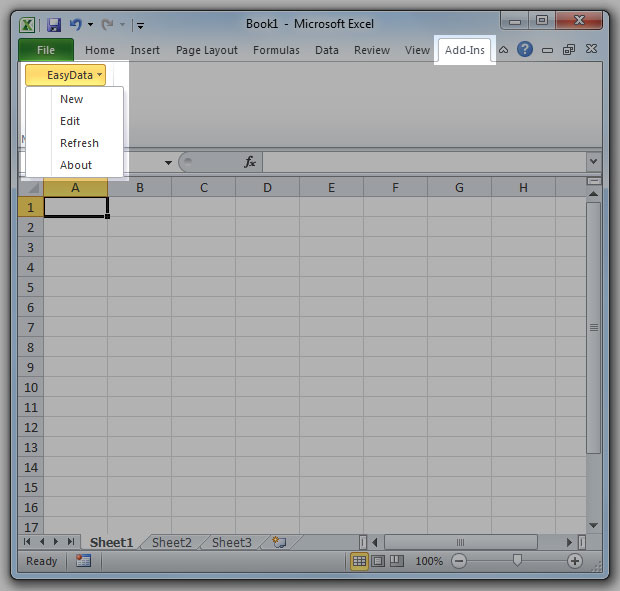
4. Add the EasyData Add-In to Excel
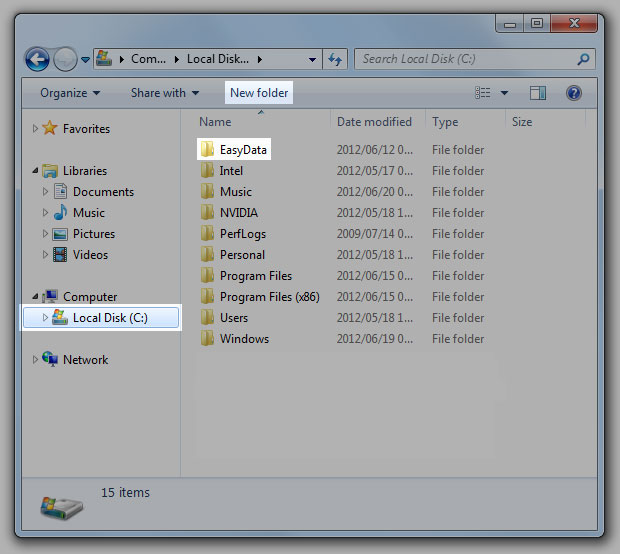
1. Create a new folder on your C:\ drive and rename it EasyData.
2. Download and unzip the EasyData Add-In and save it in the new C:\EasyData\ folder.
EasyData Add-In (v2018.06.22) [27.1 KB]
3. Open Excel.
4. Click the File tab.
5. Click on Options.

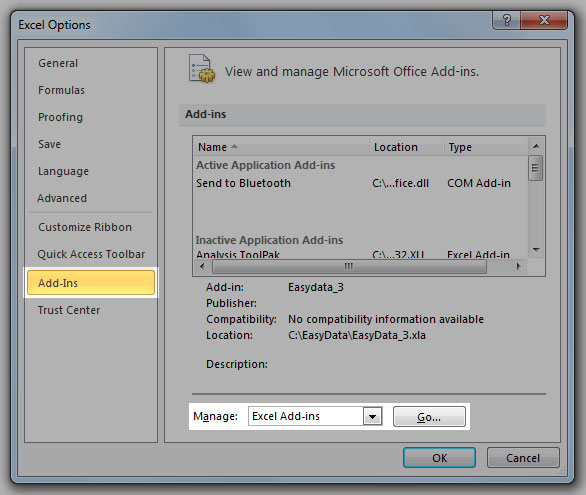
6. Click on Add-Ins.
7. At the bottom, in the Manage drop-down box, select Excel Add-Ins and click the Go... button.
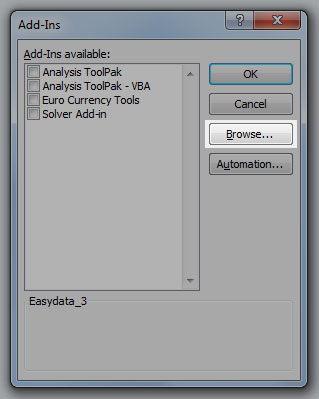
8. Click the Browse... button.
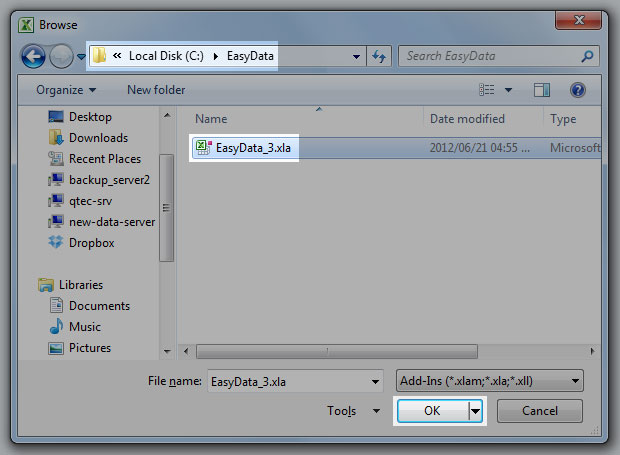
9. Browse to C:\EasyData\ and select the Add-In file EasyData_3.xla and click the OK button.
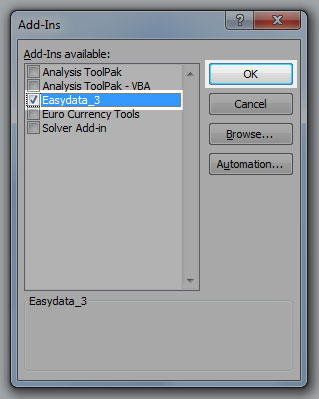
10. Make sure the check box is checked next to the new EasyData_3 Add-In and click the OK button.
11. The EasyData Add-In will now appear on your Excel menu, under the Add-Ins tab.